Installing a Certificate on XAMPP
A certificate, often referred to as an SSL or TLS certificate in the context of HTTPS, is a digital document that serves two main purposes:
The certificate helps verify the identity of the website, proving that the site is indeed what it claims to be. This is achieved by having the certificate issued by a trusted third-party organization, known as a Certificate Authority (CA), which validates the website's identity before issuing the certificate.
The certificate also helps establish a secure, encrypted connection between the user's browser and the website. It does this by containing the website's public key, a crucial part of the encryption process.
Always develop using HTTPS
Ensuring that your local development environment closely mirrors your production environment, including the use of SSL/TLS certificates, is crucial for several reasons:
- Having a certificate installed on your local server allows you to test your applications under conditions that are as close to the live environment as possible. This way, you can uncover and address issues that only arise over HTTPS.
- By installing a certificate on your local server, you gain experience with the setup and troubleshooting process. This knowledge can prevent configuration errors when setting up HTTPS on the production server.
- Some application features may behave differently or only work over HTTPS due to the secure context. These features can include service workers, HTTP/2, certain geolocation APIs, and more.
- Consistency between your local and production environments reduces the risk of encountering unexpected behavior or bugs in the production environment that did not appear during development or testing.
Creating a Certificate on XAMPP
By default, XAMPP does not enable HTTPS for your site. Luckily, it does provide the tools for enabling HTTPS. Let's walk through the process.
Step 1: Open XAMPP Folder
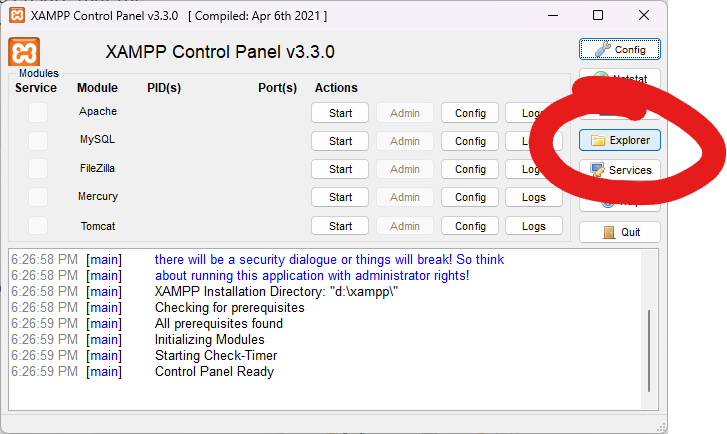
The first step is to open the directory of your XAMPP installation. If you don't know where this directory is, you can click on the Explorer button from the XAMPP Control Panel.
In most cases, XAMPP is typically installed in the C:/xampp/ directory.
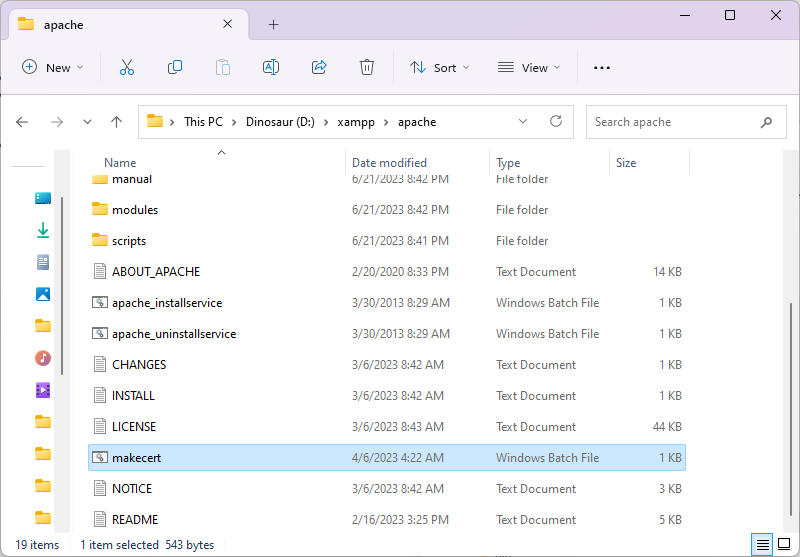
Step 2: Run the makecert.bat File
Next, we must start a file called makecert.bat from the /apache directory in your XAMPP installation. This program will assist you in the process of creating a certificate, which is required for HTTPS to be enabled for your sites.
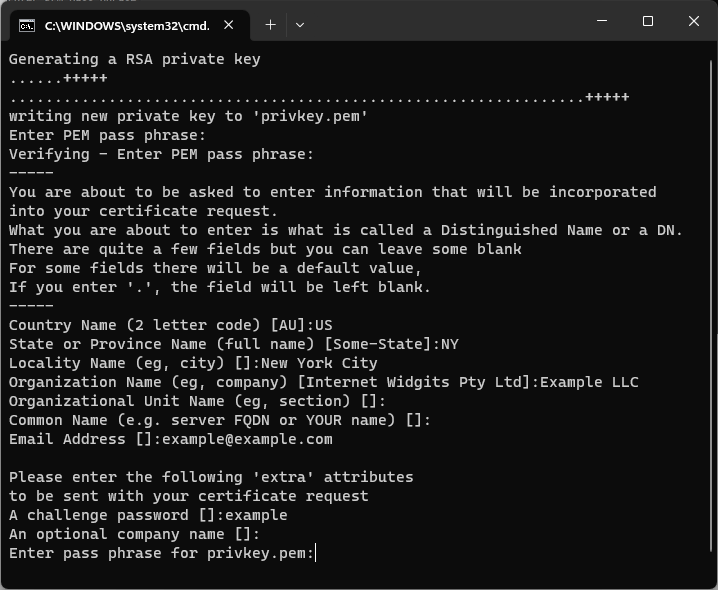
Step 3: Configure Certificate
Upon starting this program, you're going to be asked a few questions.
First and foremost, you'll be asked to provide a PEM pass phrase. This is a password for your certificate. Please make sure to remember this password, as you may be asked to input it again.
Afterward, you're going to be asked a few questions about your site.
- Country name (two-letter code)
- State or province (full name)
- Locality name (e.g., city)
- Organization name (e.g., company)
- Organizational Unit Name (e.g. section)
- Common name (this is usually localhost)
- Email address
You may be asked for a challenge password. A "challenge password" is an optional password that can be set when creating a Certificate Signing Request (CSR) for an SSL certificate. The challenge password is used to add an extra level of authentication. If a challenge password is set during the CSR creation process, then that password will be required if and when the CSR needs to be revoked.
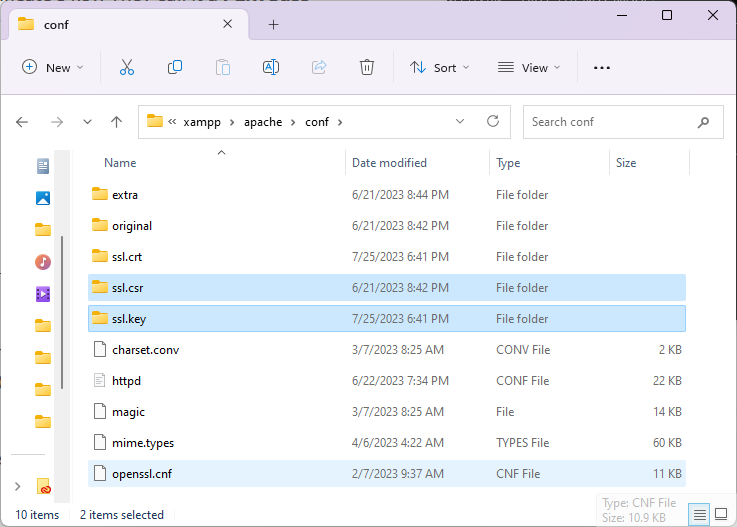
Step 4: Verify the Certificate Files Were Created
Inside the /apache directory of your XAMPP installation, move into the conf folder. Inside this folder, two directories should've been created.
/ssl.crt- Inside this folder, there should be a file calledserver.crt./ssl.key- Inside this folder, there should be a file calledserver.key.
Step 5: Update Virtual Host Configuration File
We're almost finished! The next step is to update Apache's configuration. Apache is responsible for receiving requests and sending responses. Therefore, we must enable HTTPS from our server, which is Apache.
Back inside the apache directory of our XAMP installation, move into the conf/extra/ directory. Within this directory, open the httpd-vshosts.conf file with your preferred code editor.
Paste the code to the right into this file. Please make sure the paths are correct in the example. Otherwise, this will not work.
Once you've added those changes, restart Apache for the changes to take official effect.
<VirtualHost *:443>
  DocumentRoot "C:/xampp/htdocs"
  ServerName localhost
  SSLEngine on
  SSLCertificateFile "conf/ssl.crt/server.crt"
  SSLCertificateKeyFile "conf/ssl.key/server.key"
  ErrorLog "logs/localhost-error.log"
  CustomLog "logs/localhost-access.log" combined
  <Directory "C:/xampp/htdocs">
      Require all granted
  </Directory>
</VirtualHost>
Step 6: Visit your site!
Try visiting your site at https://localhost/
Be sure the URL is using https and not http.
While visiting your page, you may get a warning from your browser. Typically, certificates must be verified with the certificate authority. Since we created a custom certificate, this is not possible.
For this reason, the browser may warn you your site is not secure. Regardless, you should be able to continue visiting your site.

Key Takeaways
- It's completely possible to generate a certificate for your site using the
makecert.batfile. - This certificate is not completely valid. Regardless, you should still be able to use your site with
https.